
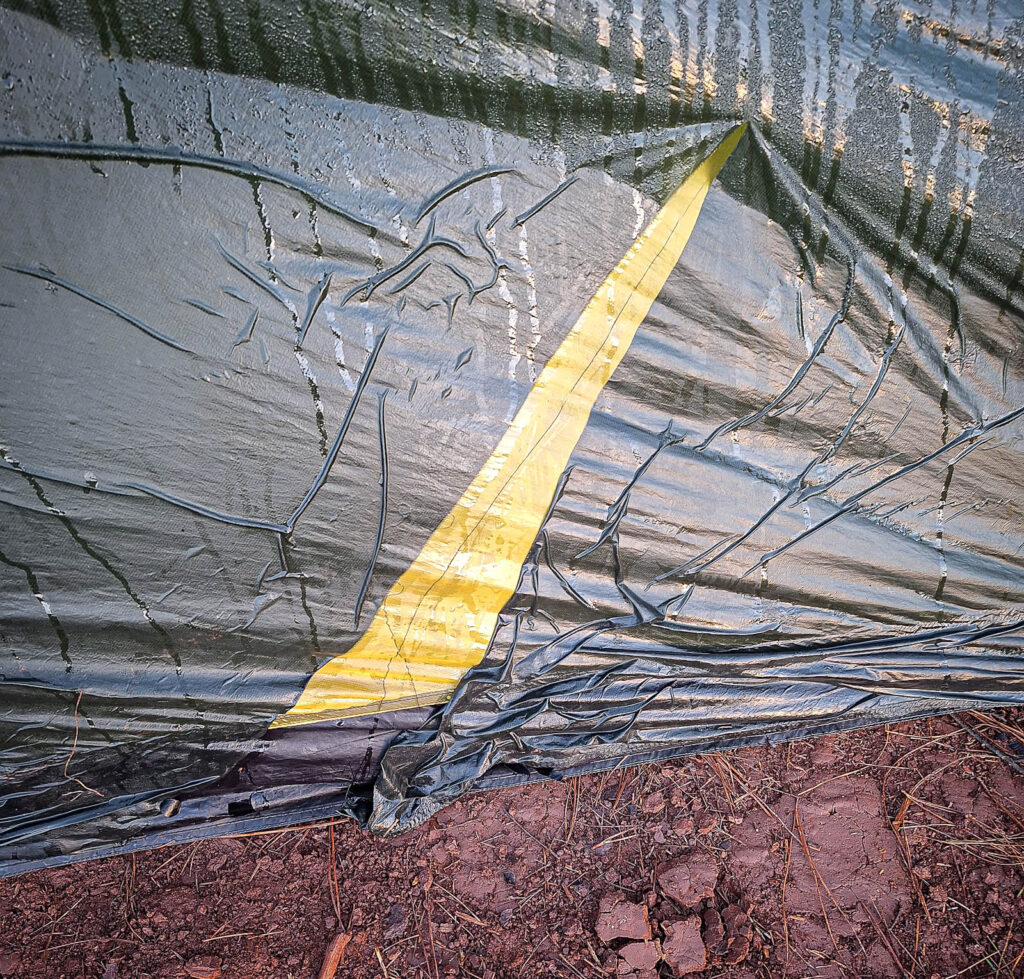
Tent Repair on the Road
Even with very careful handling, damage to a tent is unavoidable in the long run. Thorns and other brush take their toll, and some things cannot be influenced at all: animals. On a campsite, cats once liked my tent a bit too much. In the Amazon, leaf-cutter ants badly damaged it.
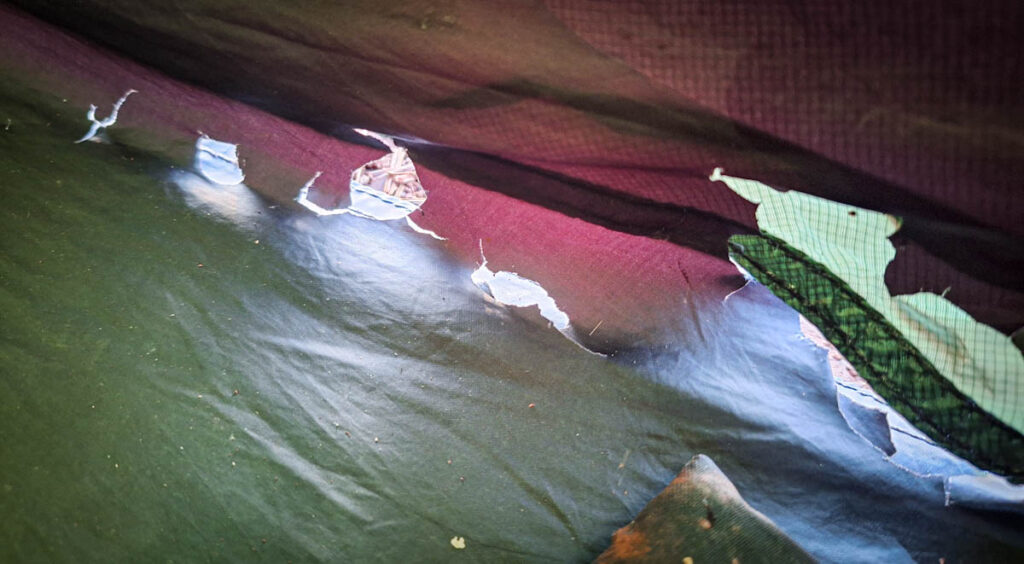
I have repaired almost every part of my tent on the road. This is how I did it and what I carry for it.
Know your fabrics first
Before buying anything, find out what each part of your tent is made of. Mine uses silnylon for the fly and PU-coated nylon for the floor, and each needs its own sealant. I buy replacement fabric at Extremtextil. It is far cheaper than original Hilleberg spares and nearly identical.
Fly (silnylon)
Tiny holes up to about 1 mm get glue only, no patch. Larger holes get a glued patch with Seam Grip SIL+. Longer tears are sewn first, then covered with a patch. Cleaning the patches and the area of the tent carefully with ethanol helps the patch to stick. Only a thin layer of sealant is sufficient. Best is to let the patch dry for 24 hours, but I also already repaired the tent in the morning and put a zip bag on the patch and carefully rolled the tent to use it again in the evening.
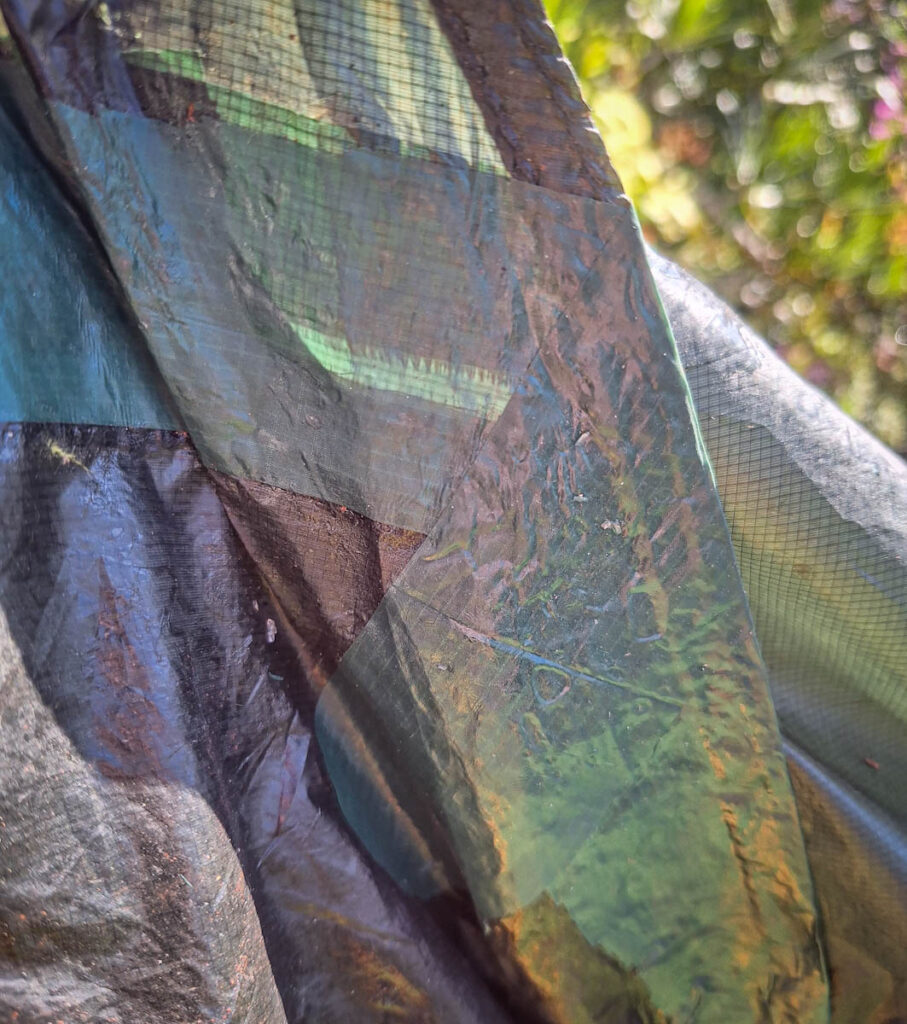
When the coating wears out, I recoat the fly with Seam Grip SIL+ thinned with white spirit at roughly 1:10. Just neutral silicon works as well and is much cheaper. Around 25g of Seam Grip Sil+ is enough for one layer of new coating for each side.
Floor (PU nylon)
Same method, but with PU nylon patches and Seam Grip WP. Only once did I have to re-glue a floor patch.
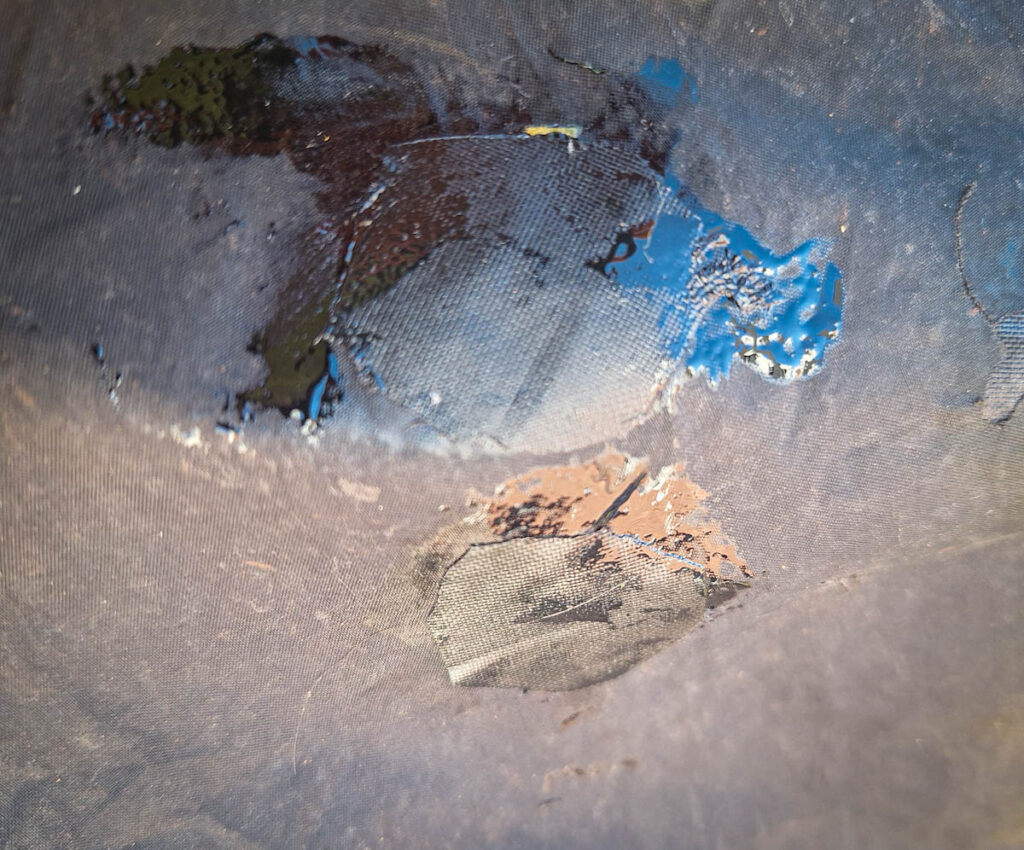
Inner tent
Repaired with impregnated nylon and Seam Grip WP. Use only a thin layer of glue as it gets a little harder when dry.
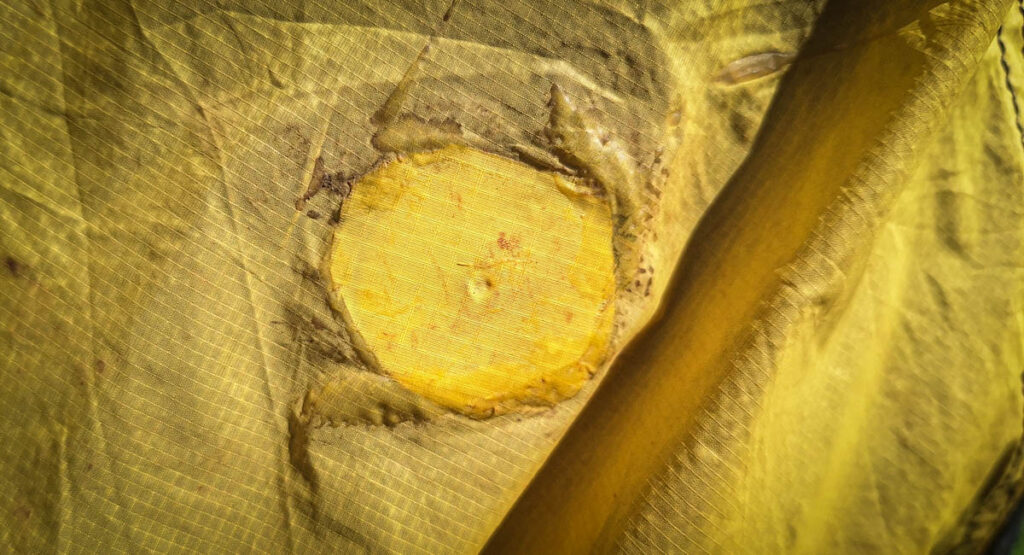
Round the corners
Patches with sharp corners peel off quickly. Rounded corners hold much longer. So far, every patch has held.
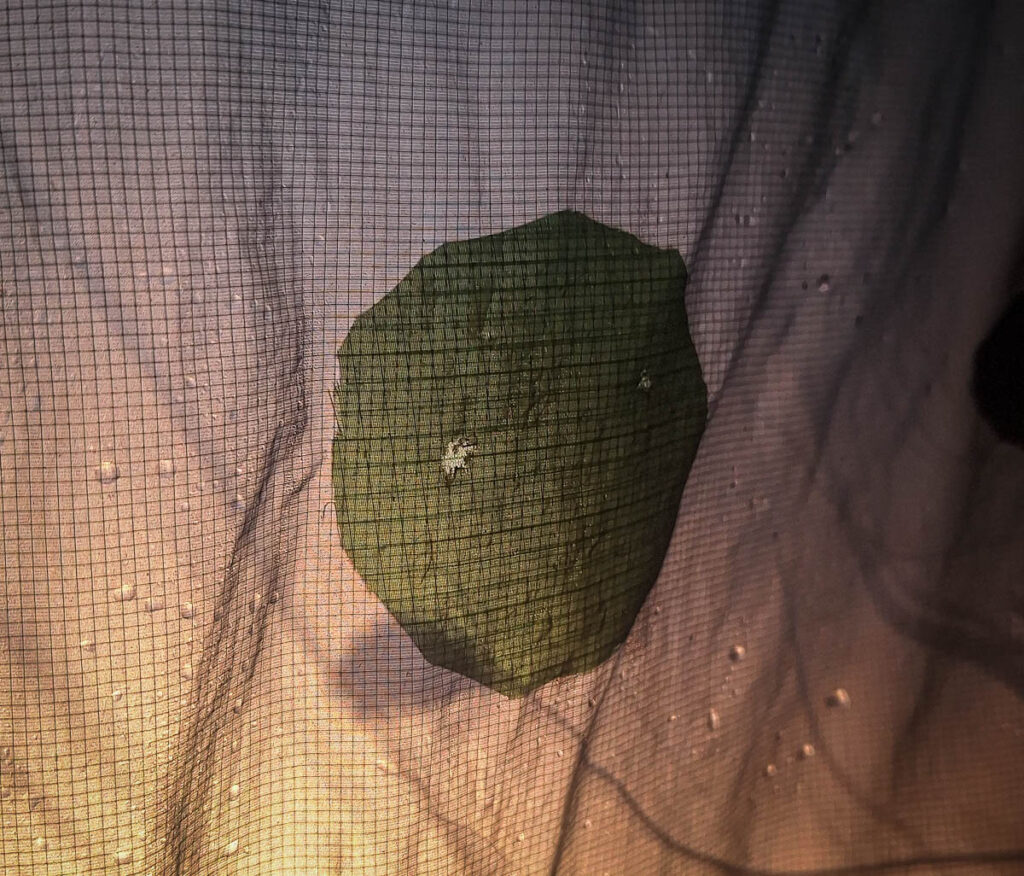
Zipper
When re-lubricating with PTFE spray no longer helps, the slider is worn. Open the seam at the bottom end of the zipper, slide on a new slider, and close the seam again. Mine ran smoothly afterwards.
Poles
A broken aluminium segment gets an aluminium sleeve, glued with a two-component adhesive. Hilleberg includes one sleeve with the tent. Suitable tubes are also easy to find on the road in metal shops or at markets.
What I carry
- A piece of each tent fabric (fly, floor, inner, mesh)
- Needle and thread
- Seam Grip SIL+ and Seam Grip WP
- A few spare zipper sliders
- A pole sleeve
- Two-component adhesive
For the tent itself and the rest of my camping setup, see my Camping Gear page.