
Bike Setup
This page contains affiliate links. If you purchase through these links I may earn a small commission at no extra cost to you.
My Long Distance Bikepacking Setup After 140,000 Kilometers
After years of long-distance bicycle travel across multiple continents, my setup gradually evolved toward one core idea:
The longer you travel, the more important simple, repairable and efficient systems become. Many of the components I use today were not chosen because they are the lightest or newest available, but because they continued to work reliably over thousands of kilometers in very different conditions.
Reliability matters more than chasing perfect specifications.
The current frame alone has already covered more than 140,000 kilometers.
Over time, the setup became increasingly minimal while still remaining capable of long-term autonomous travel, including independent power generation through a dynamo system.
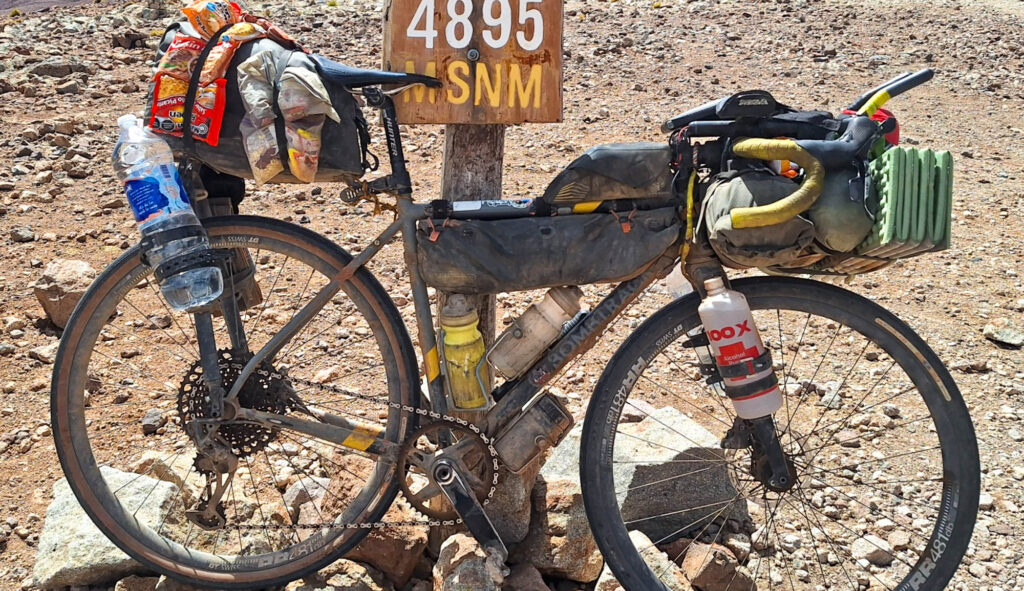
Today, the complete system stays around 15 kg of luggage excluding food and water, while the bike itself weighs around 12 kg.
The following setup is the result of riding across roughly 75 countries on almost every continent except Australia and Antarctica.
Here you’ll find my current gear configuration with all key components and the practical experience behind each choice:
Table of Contents
The Bike
Frame
- Bombtrack Audax 2018
- Steel frame
I still strongly prefer steel for long-distance travel. Not because of romantic ideas about frame materials, but because it offers a very balanced combination of durability, comfort and long-term reliability.
The geometry of the Audax works extremely well for long days on mixed surfaces while still feeling efficient on paved roads.
Wheels & Tires
Rims
- DT Swiss RR481
- 32 spokes front and rear
Hubs
- DT Swiss 350 rear
- SON Delux front dynamo hub
Spokes
- Sapim D-Light front
- Sapim Race rear
Nipples
- Brass
After many years of riding, I strongly prefer conventional and serviceable wheel systems over lightweight or exotic setups.
32 spokes, brass nipples and standard components are still hard to beat for long-term travel reliability.
The SON Delux hub has been one of the best long-term components on the bike. Reliable power generation becomes increasingly valuable the longer you travel independently.
Tires
- Panaracer GravelKing SS 700×40
I usually run tubeless for as long as possible.
In my opinion, tubeless systems are one of the best bicycle innovations of the last 20 years. The reduction in punctures alone makes a huge difference during long-distance travel.
At the same time, truly long-term travel often means eventually switching back to tubes temporarily somewhere on the road. The important part is understanding and being able to work with both systems.
Drivetrain & Brakes
Drivetrain
- SRAM X01 Eagle rear derailleur
- SRAM XG1295 cassette (10–52)
- SRAM Rival 170 mm crankset
- 46T chainring
Shifting
- SRAM Apex shifter (Shifting mechanism broke 04/2025 in the Philippines)
SX trigger shifter(replaced 02/2026 in Ecuador)- NX trigger shifter
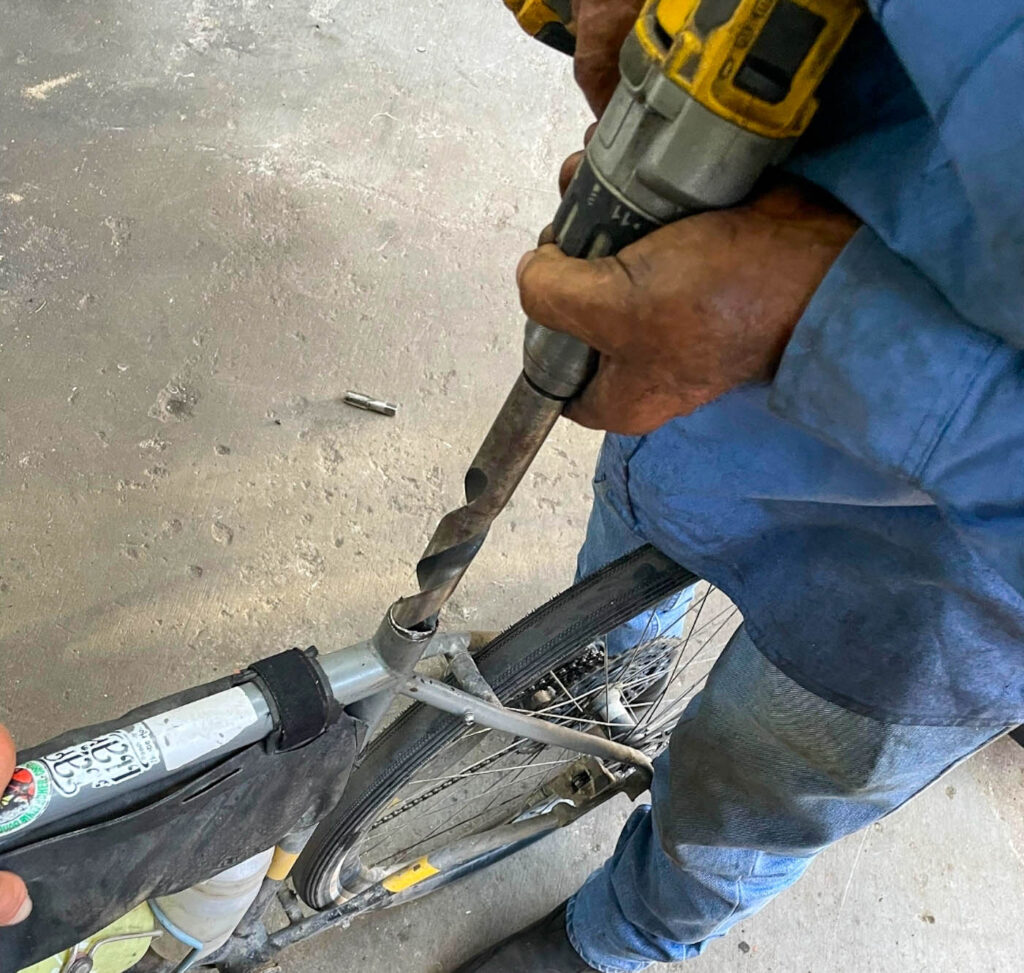
Long-term travel eventually exposes weaknesses in almost every component category.
One of the biggest lessons over time is that field repairability and compatibility often become more important than perfectly clean setups.
Brakes
- SRAM Apex full hydraulic brake
- 160 mm rotors front and rear
- Preferably organic brake pads
Even after extensive travel, I still prefer hydraulic braking performance overall, especially in difficult weather and mountain conditions.
Brake pads wear out much faster from sand, mud, and dirty water than from long descents alone. And not all compounds behave the same when things get hot. After years of testing different pads on long-distance rides, I wrote a short breakdown about what works — and what absolutely doesn’t.
Read more: The Good, the Bad and the Ugly of Bicycle Brake Pads
Cockpit, Pedals & Saddle
Cockpit
Easton EA70AX Handlebar(broken 04/2025 in the Philippines)- Ritchey Gravel Handlebar
- Profile Design Aero Bar
- Easton EA70 Stem
- EVA foam bar tape
A flared gravel handlebar gives noticeably more control on technical terrain and in rough conditions, while the aerobars are an absolute game changer on long straight sections — they are incredibly comfortable and take a huge load off the shoulders and hands on extended days.
For more details on handlebar care, corrosion risks and why I regularly replace the bar tape, see The Hidden Cockpit Issues.
Pedals
Shimano XT PD-M8100 pedals(worn out 05/2025 in China)- Shimano PD-M520 SPD pedals
Clipless Pedals: My Long-Term Experience
Having started cycling at a young age and even raced MTB as a teenager, I’ve been using clipless pedals for most of my riding life. I simply feel much more secure and efficient with them — the connection between shoe and bike is confident and powerful, especially on long-distance tours and technical terrain.
For me, Shimano pedals are a clear no-brainer. They are extremely durable, the spare parts availability is excellent, and — very importantly — you can still walk decently in MTB shoes when you have to push or hike-a-bike.
The Reality of Wear
However, even high-quality Shimano pedals don’t last forever. After many tens of thousands of kilometers, wear eventually shows up. In my experience, the part that usually fails first is the metal retention mechanism on the pedal body itself. Over time, the cleat engagement surfaces get worn down — material is gradually abraded away until the cleats no longer click in securely.
New cleats can temporarily solve the problem and restore a firm connection. But at a certain point, the pedal body is simply too worn out, and even fresh cleats won’t hold properly anymore.
Conclusion:
Clipless pedals (especially Shimano) offer excellent reliability and performance over very high mileage. Still, they are a wearing part. I regularly inspect the engagement mechanism and accept that pedals, like chains or brake pads, eventually need to be replaced — especially on a bike that sees continuous long-distance use.
Saddle & Seatpost
Selle Italia SLR Gravel Boost(broken 10/2024 in India)- Selle San Marco Shortfit
Easton EA70 Seatpost(broken 10/2026 in Mexico)- Hunter Seatpost
Saddle Choice: Why I Ride Sporty Saddles
Because of my sporting cycling background — starting early and racing MTB in my youth — only a proper performance-oriented saddle feels right for me. I need a saddle that is supportive, and efficient for long days in the saddle.
For many years I rode the Selle Italia SLR Gravel Boost. It suited my riding style perfectly. However, during one tour it suddenly broke, leaving me in a remote area without a backup.
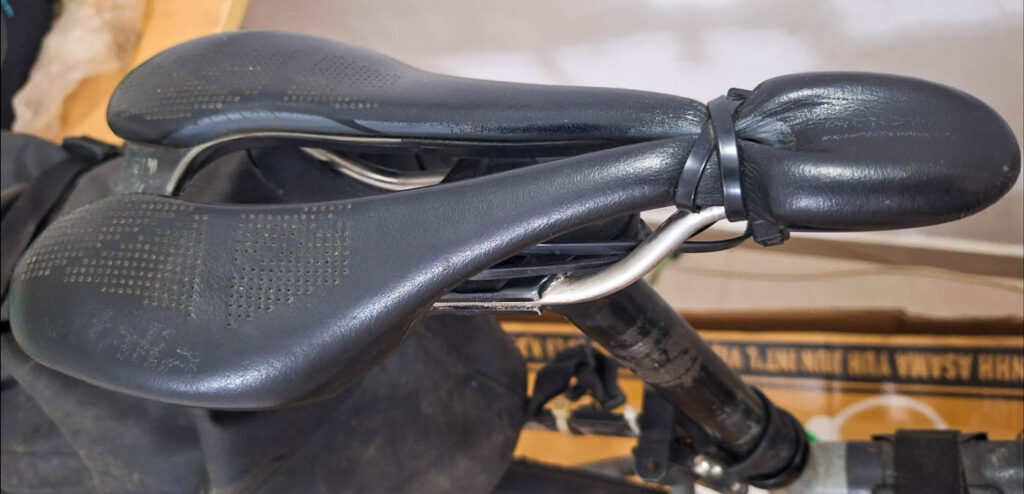
Fortunately, I found a Selle San Marco Shortnose — a model very similar in shape, width, and firmness to my previous SLR.
I’ve now been riding this San Marco Race for approximately 50,000 km and I’m still extremely happy with it. It has proven to be impressively durable and comfortable for my long-distance style.
Conclusion:
A good saddle is highly personal. Thanks to my racing background I prefer firm, race-oriented models over heavily padded touring saddles. The Selle San Marco has become a reliable long-term companion that easily handles the demands of multi-continent travel.
Power & Electronics
Power System
- Forumslader dynamo charging system
- SON Delux dynamo hub
- serial 3×18650 battery setup
Lighting
- Lupine SL nano F e-bike light
Power autonomy became increasingly important during longer trips.
Being able to generate reliable electricity independently changes the way long-distance travel works, especially when spending extended periods camping or riding through remote areas.
Over time, the entire charging system evolved toward efficiency, simplicity and low energy loss rather than maximum gadget complexity.
Bags & Packing System
Front
- Small Ortlieb front roller
- Additional drybag with tent strapped to the front roller
Frame
- Ortlieb frame bag with rubber closure
- Apidura top tube bag with magnetic closure
Rear
- Tailfin system
- four Tailfin cargo cages mounted to fork and rack
One thing I learned over time is that closure systems matter more than many people think.
I increasingly moved away from zippers whenever possible. Roll-top systems and simple closures tend to survive long-term travel much better.
The Tailfin system has worked extremely well for combining stability, modularity and relatively low weight.
For my full shelter and sleeping setup, see Camping Gear.
Final Thoughts
Over time, long-distance bicycle travel became less about chasing ideal gear and more about refining systems that continue to work reliably month after month.
Most of the setup described here evolved gradually through real-world use across different climates, road conditions and continents rather than through short-term testing.
The goal was never building the lightest possible setup, but creating a system that remains efficient, repairable and autonomous during extended travel over many years.
For practical advice on flying with a bike or crossing borders, see Transportation.